
Quick start
Get your account ready and enrol your first device.
This guide takes about 30 minutes. At the end you will have one working device you can watch, lock, and manage from the console.
1. Sign in
Open the console link your organisation gave you and sign in with your work email address and password.
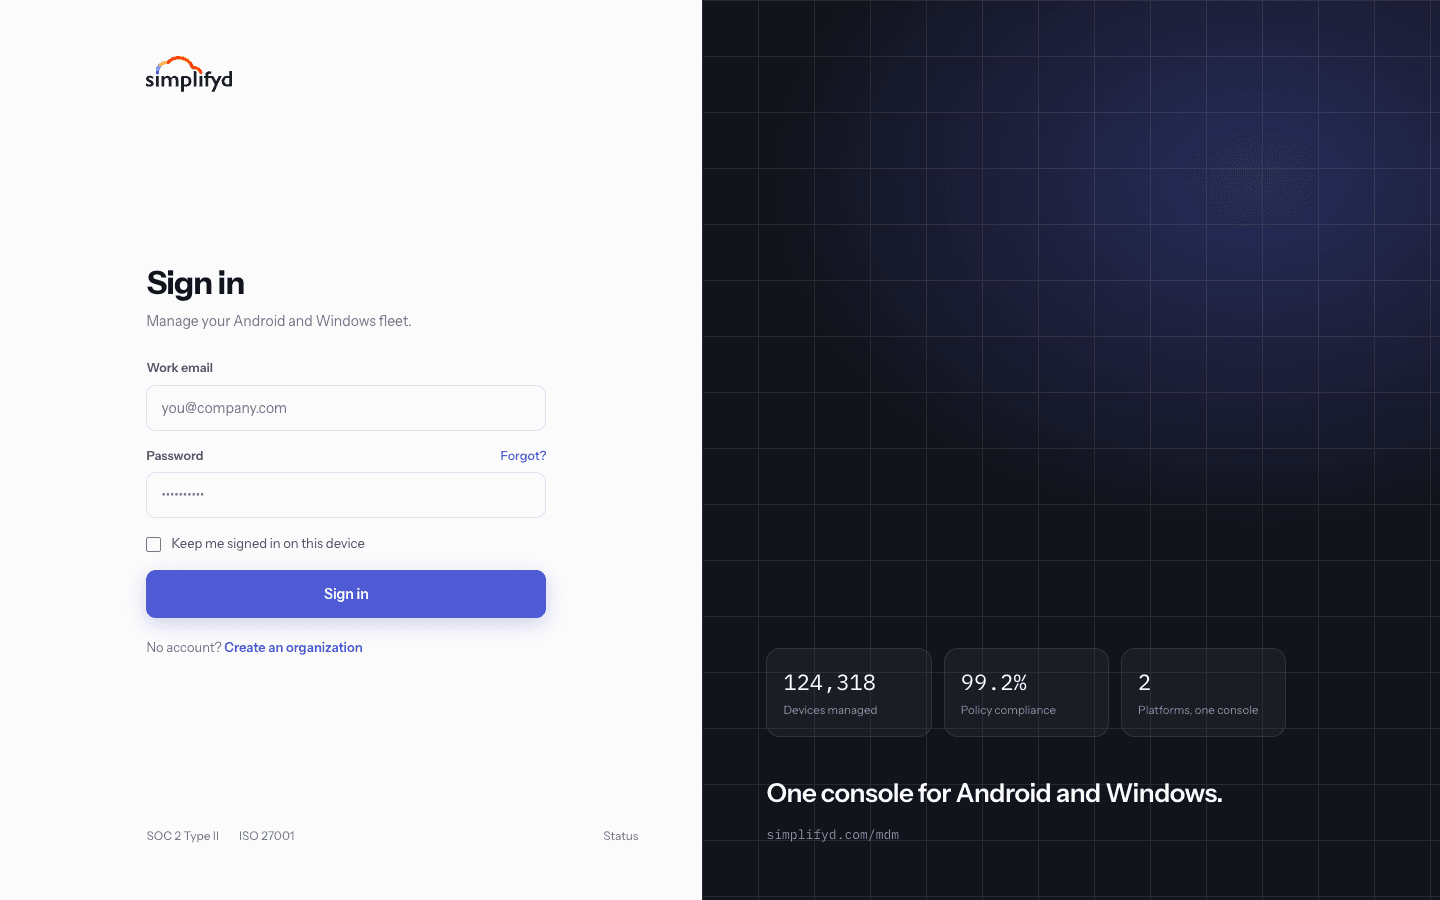
If you have never signed in before, use Register to create your account, then check your email for the verification link. You must verify your email before you can sign in.
Forgot your password? Use Forgot password on the sign-in screen. You will get a reset link by email. The link only works once and expires after a short time.
2. Turn on multi-factor authentication
Do this before anything else. It stops someone signing in as you even if they learn your password.
- Go to Settings → Security.
- Select Set up MFA.
- Scan the square code with an authenticator app on your phone (Google Authenticator, Microsoft Authenticator, and similar apps all work).
- Type the six-digit code the app shows you and select Confirm & enable.
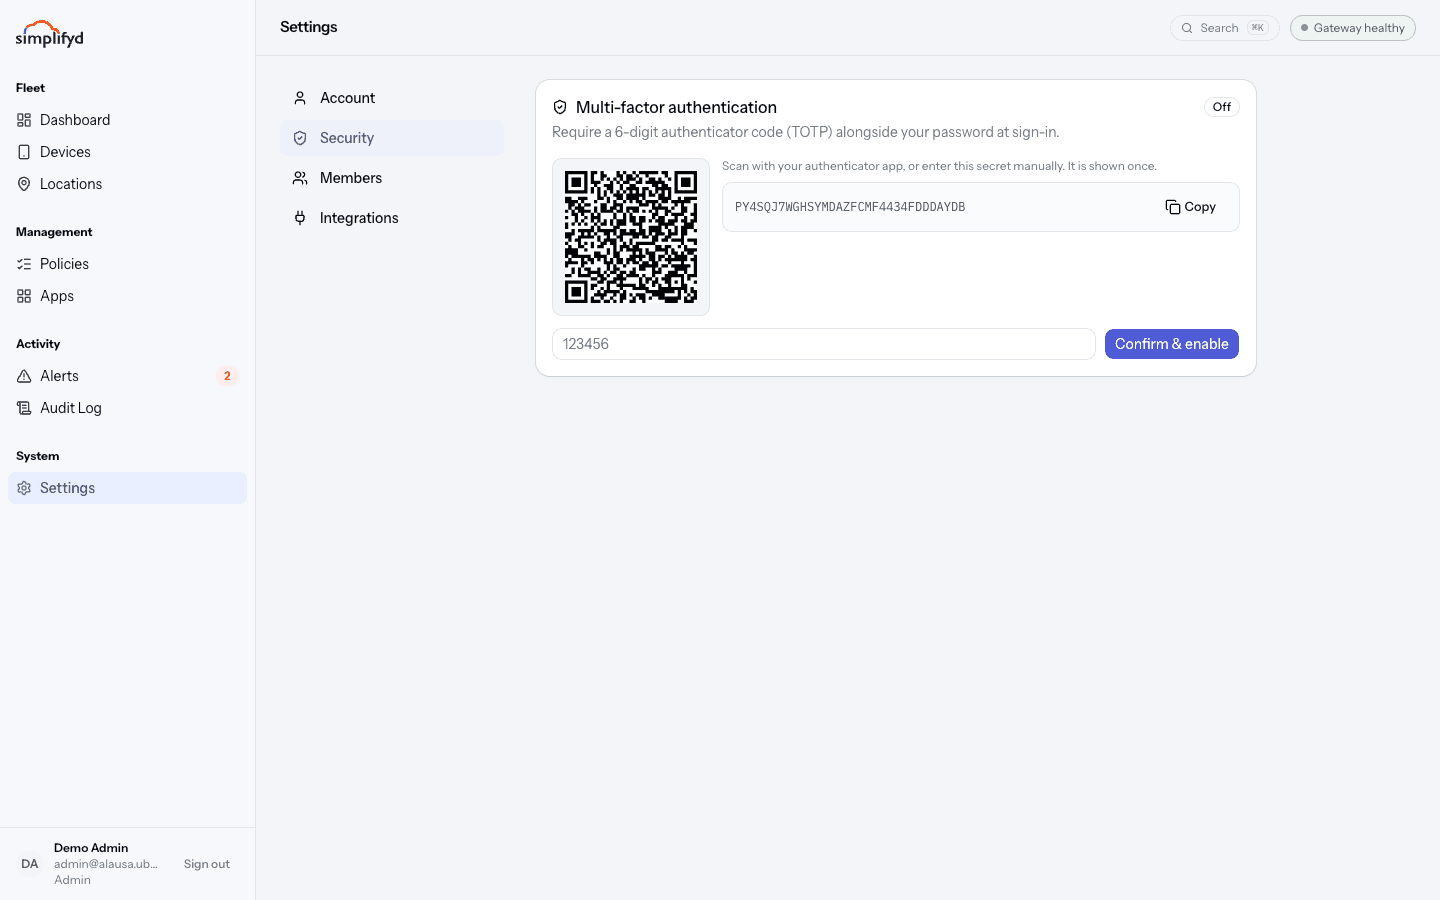
From now on, signing in asks for that six-digit code as well as your password.
Save your MFA secret somewhere safe when it is shown. If you lose your phone and have no copy of it, an admin has to reset your account for you.
3. Decide on your first group
A group is just a name you give a set of devices, like Pilot, Staff-Laptops, or
Year-10-Tablets. Every device belongs to one group, and policies are assigned to
groups.
For your first device, use something obvious like Pilot. You can move devices between
groups later.
4. Enrol your first device
Go to Devices and select Enrol new device. Choose how the device should be set up:
- Android — QR provisioning. Best for tablets and phones the organisation owns. You wipe the device (or start with a new one), tap the setup screen six times, and scan the code shown in the console.
- Android — Managed Google Play. Google's Android Device Policy app manages the device. Good when you want apps delivered from Google Play.
- Windows. The laptop joins using an enrolment URL and a token.
Type your group name into Enrol into group, leave the expiry as it is, set Max uses
to 1 for this first device, then select Generate token.
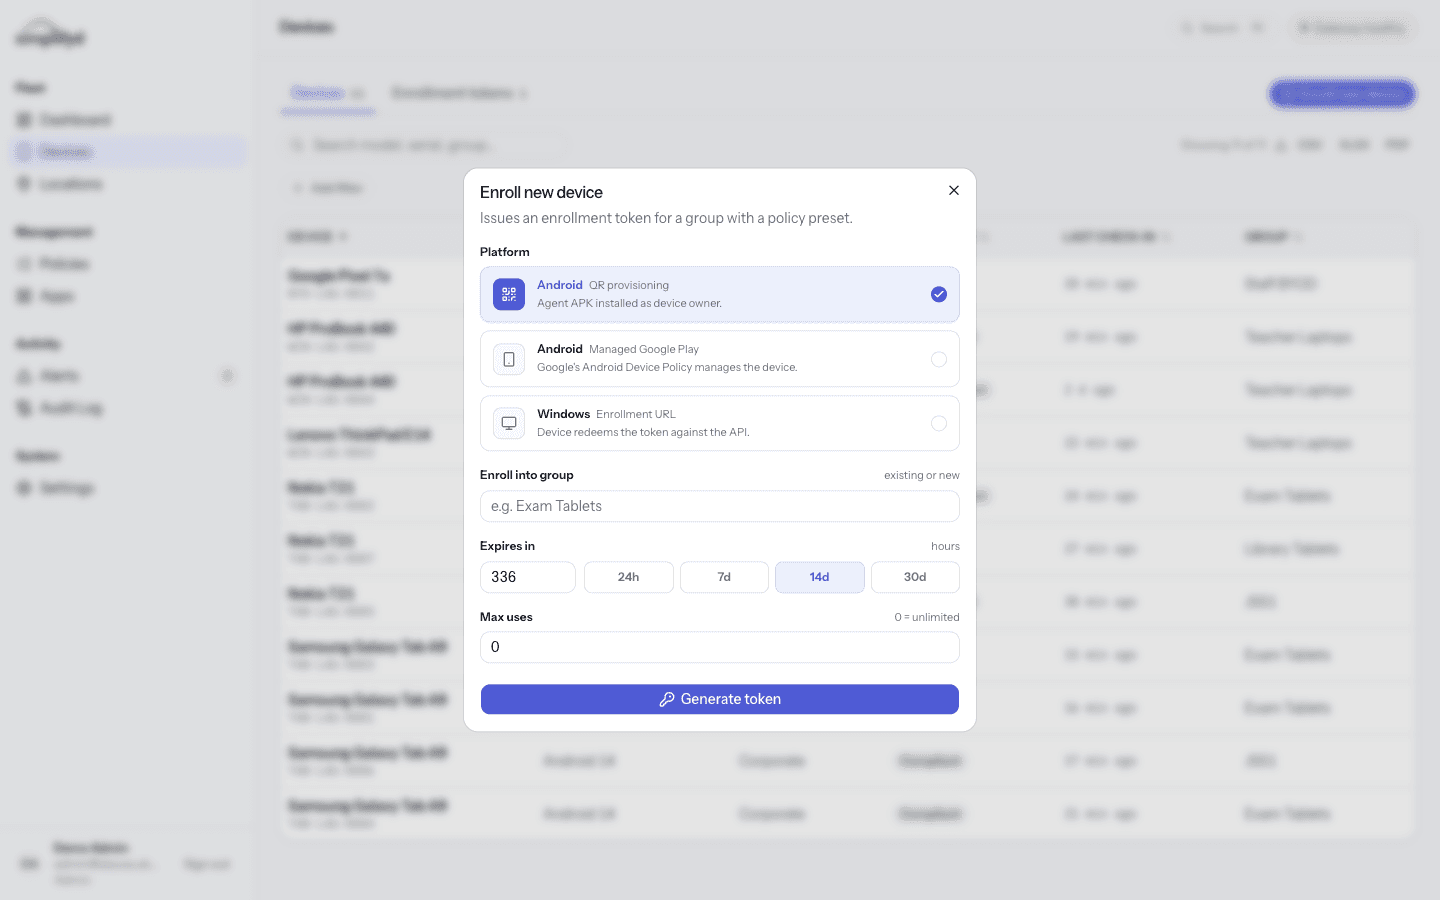
The token is shown once. Copy or scan it before you close the panel. If it is lost, just generate a new one.
Follow the on-screen steps on the device itself. Full walkthroughs are in the runbooks: Enrol an Android device and Enrol a Windows device.
5. Check that it worked
Go to Devices. Your new device should appear within a few minutes with:
- a Last check-in time of a few minutes ago,
- a Compliance badge, and
- its model, serial number, and group.
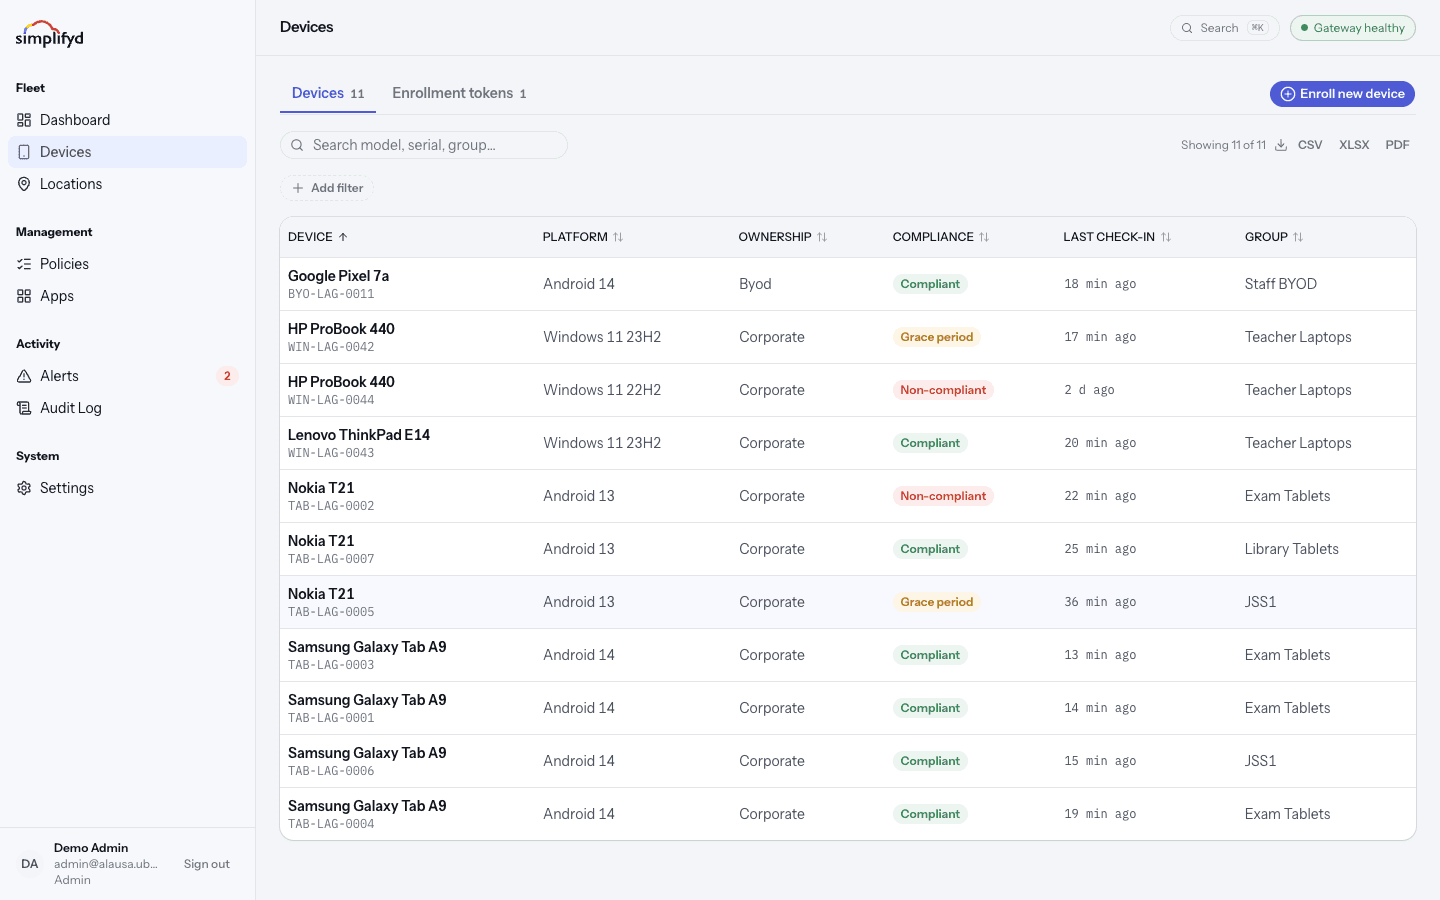
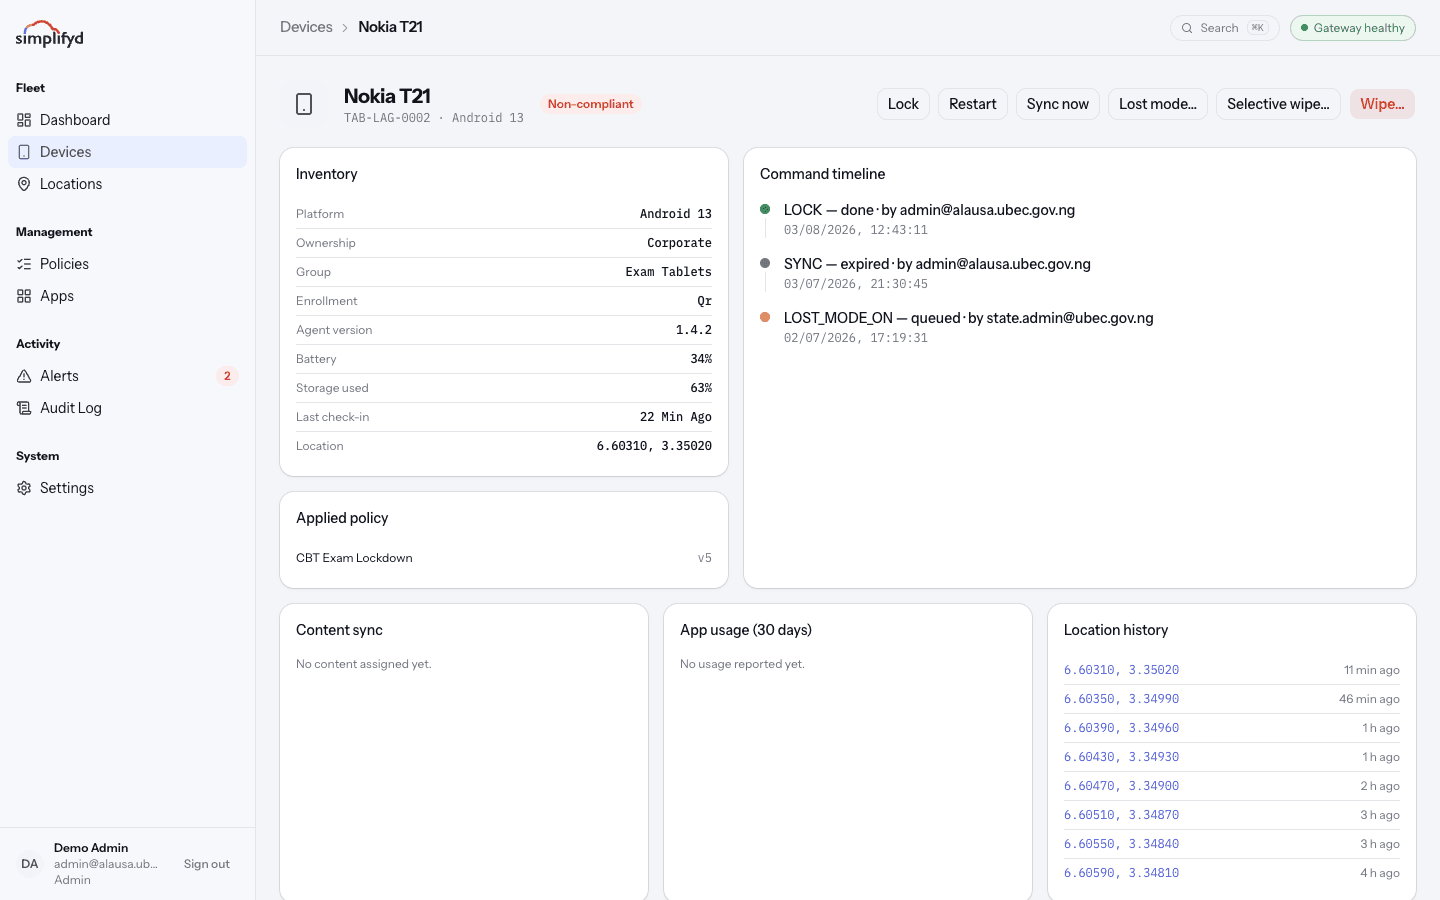
Open the device to see its battery, storage, operating system version, and last known location.
6. Try a safe command
On the device page, select Sync now. This just asks the device to check in and refresh its information — nothing on the device changes. Watch it move through the command timeline to done, and you know the two-way link is working.
What next
- Learn the console screen by screen in Using the console.
- Add your colleagues in Team and access.
- Keep the runbooks handy for lost devices, leavers, and rollouts.